Portable Mug Heat Press: DIY 11–15oz Mugs & Tumblers
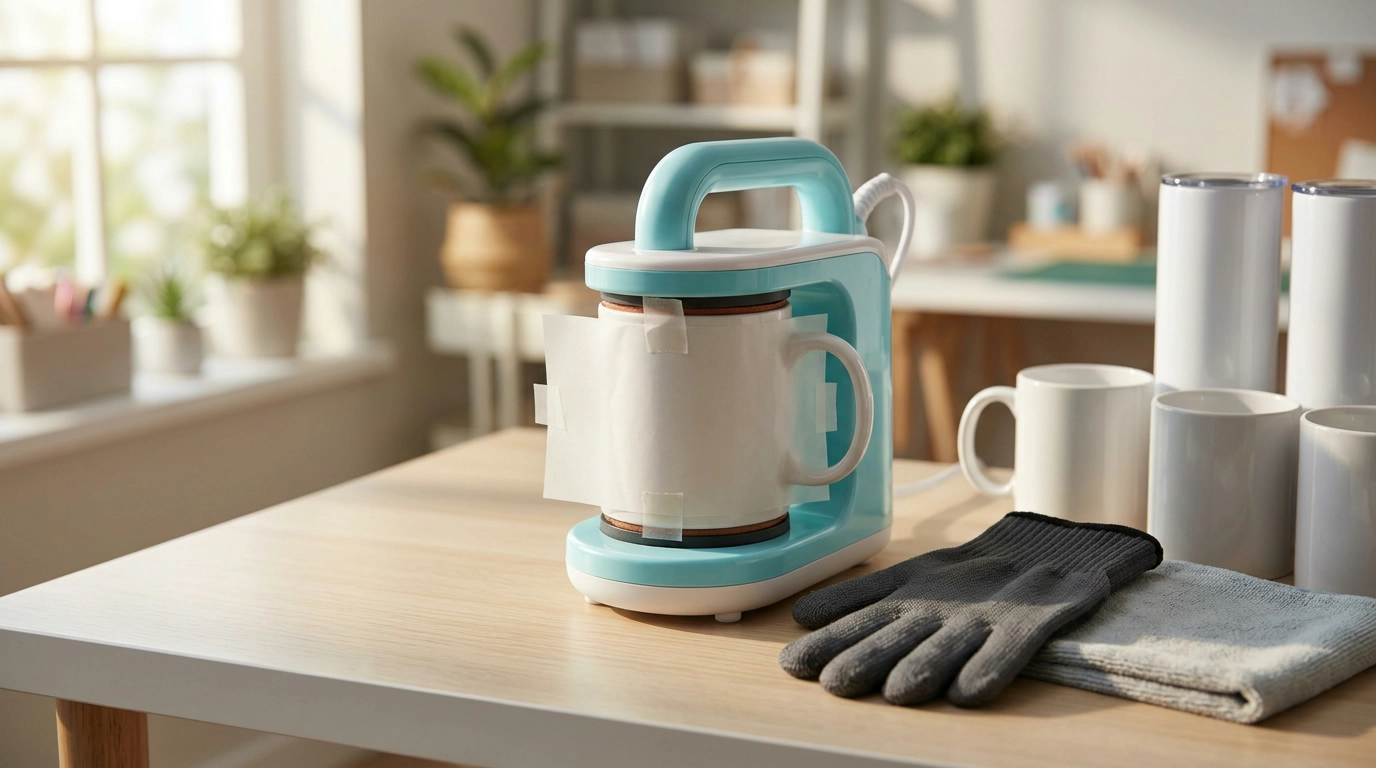
Portable Mug Heat Press Machine for DIY Mugs, Tumblers & Cups (11oz–15oz)
A portable mug heat press makes it possible to personalize drinkware with consistent heat and pressure—without dedicating a full workbench to a bulky press. Whether you’re making a one-off gift or repeating a design for a small run, the right workflow (cleaning, alignment, correct settings, and safe handling) is what turns a “pretty good” press into a clean, professional-looking result.
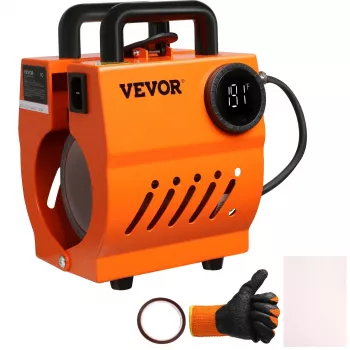
If you’re ready to start, the Portable Mug Heat Press Machine for DIY Mugs, Tumblers & Cups (11oz-15oz) is designed for common mug sizes and a flexible, easy-to-store setup.
What a Portable Mug Heat Press Does (and When It’s the Right Tool)
A mug heat press wraps heated pressure around curved drinkware so transfer designs can bond to compatible, coated surfaces. Instead of relying on an oven-style process or inconsistent heat from improvised tools, a dedicated press helps keep temperature and contact more uniform across the print area.
- Applies controlled heat around curved drinkware to bond transfer designs onto coated surfaces.
- Common DIY uses: custom gift mugs, small-batch craft sales, team or event drinkware, and branded office cups.
- Best for: standard ceramic mugs and similarly sized straight-walled cups within the 11oz–15oz range.
- Not ideal for: heavily tapered tumblers, oversized mugs, or bottles with pronounced curves unless specifically rated for those shapes.
If you want a fast workflow and repeatable results on the most common mug shapes, a portable press is often the simplest path. For complex shapes (strong tapers, handled travel bottles, or very tall tumblers), a specialty press made for those profiles can reduce uneven contact.
Fit and Compatibility: 11oz–15oz Mugs, Tumblers, and Straight Cups
Most pressing issues trace back to fit. Even a high-quality transfer can look patchy if the heating area doesn’t fully cover the artwork or if the cup shape creates gaps. Before stocking up on blanks, confirm the press’s supported size range and stick to straight walls while you dial in your process.
- Confirm the drinkware size range: standard 11oz and 15oz ceramic mugs typically fit the easiest.
- Check shape: straight walls press more evenly; strong tapers can cause light spots or ghosting.
- Surface matters: coatings and finishes affect results—some blanks accept transfers better than others.
- Measure before buying blanks: diameter and height determine whether the heating area covers the full design.
Quick Compatibility Checklist for Common Drinkware
| Drinkware type | Typical fit | Notes to check before pressing |
|---|---|---|
| 11oz ceramic mug | Excellent | Most consistent pressure; ideal for first projects |
| 15oz ceramic mug | Excellent | Verify height coverage if using tall designs |
| Straight stainless tumbler (mug-size) | Good | Confirm straight walls and suitable coating; use heat-resistant tape |
| Tapered tumbler | Limited | Higher risk of uneven pressure; consider a press made for tapered shapes |
| Glass mug/cup | Varies | Confirm blank is rated for heat transfer; handle with extra care to avoid thermal shock |
How to Get Clean Transfers: Setup and Pressing Workflow
Consistency comes from repeating the same steps every time. A small alignment change can be the difference between crisp edges and a shadowed “double print.” Build a simple routine and keep notes on what works for each blank type.
- Prepare the surface: clean and dry the mug/cup to remove oils, dust, and fingerprints.
- Align the design: position it level; use heat-resistant tape to prevent shifting during pressing.
- Preheat and time: allow the press to reach target temperature; follow the transfer material’s instructions for time and temperature.
- Apply steady pressure: ensure full wrap contact; avoid wrinkles and gaps that cause faded areas.
- Cool-down step: remove carefully and let the item cool as recommended for the transfer type to reduce smearing or ghosting.
When you’re learning, start with smaller, centered artwork instead of a full-wrap. It’s easier to spot issues (like a slight tilt or a tiny paper wrinkle) and fix them on the next attempt.
Temperature, Time, and Materials: What Changes Results
For guidance on recommended heat settings by material system, use authoritative references such as the Cricut Heat Guide and mug-focused sublimation resources from Sawgrass.
Safety and Care for Portable Heat Pressing
For general best practices around cords, plugs, and safe electrical operation, review OSHA’s electrical safety guidance.
Best Uses: Gifts, Small Runs, and Practice Projects
Portable Mug Heat Press Machine: At-a-Glance Details
Shop the press here: Portable Mug Heat Press Machine for DIY Mugs, Tumblers & Cups (11oz-15oz).
Other in-stock picks for your home setup
- 650ANSI 4K Projector with Auto Focus & Keystone Correction (great for projecting designs or mockups onto a wall while you plan a workspace)
- 20Kpa Cordless Stick Vacuum Cleaner for Hard Floor, Carpet & Pet Hair, Rose Red (helpful for keeping craft dust and paper scraps under control)
FAQ
Can this press handle both 11oz and 15oz mugs?
Yes. It’s intended for drinkware in the 11oz to 15oz range, and straight-walled ceramic mugs are typically the easiest for even pressure. For best results, measure diameter/height and confirm your design fits within the heated area.
Why do designs sometimes look faded or patchy after pressing?
The most common causes are uneven contact (often from tapered cups), incorrect time/temperature for the transfer material, shifting during pressing, or moisture in the paper or blank. Secure the transfer with heat-resistant tape, verify settings, and use compatible, properly stored blanks and paper.
Is it safe to press stainless tumblers with a mug press?
It can be, as long as the tumbler is straight-walled, within the size range, and has a coating compatible with your transfer method. Use heat-resistant gloves, handle hot metal carefully, and follow the transfer manufacturer’s specifications for temperature and timing.













Leave a comment